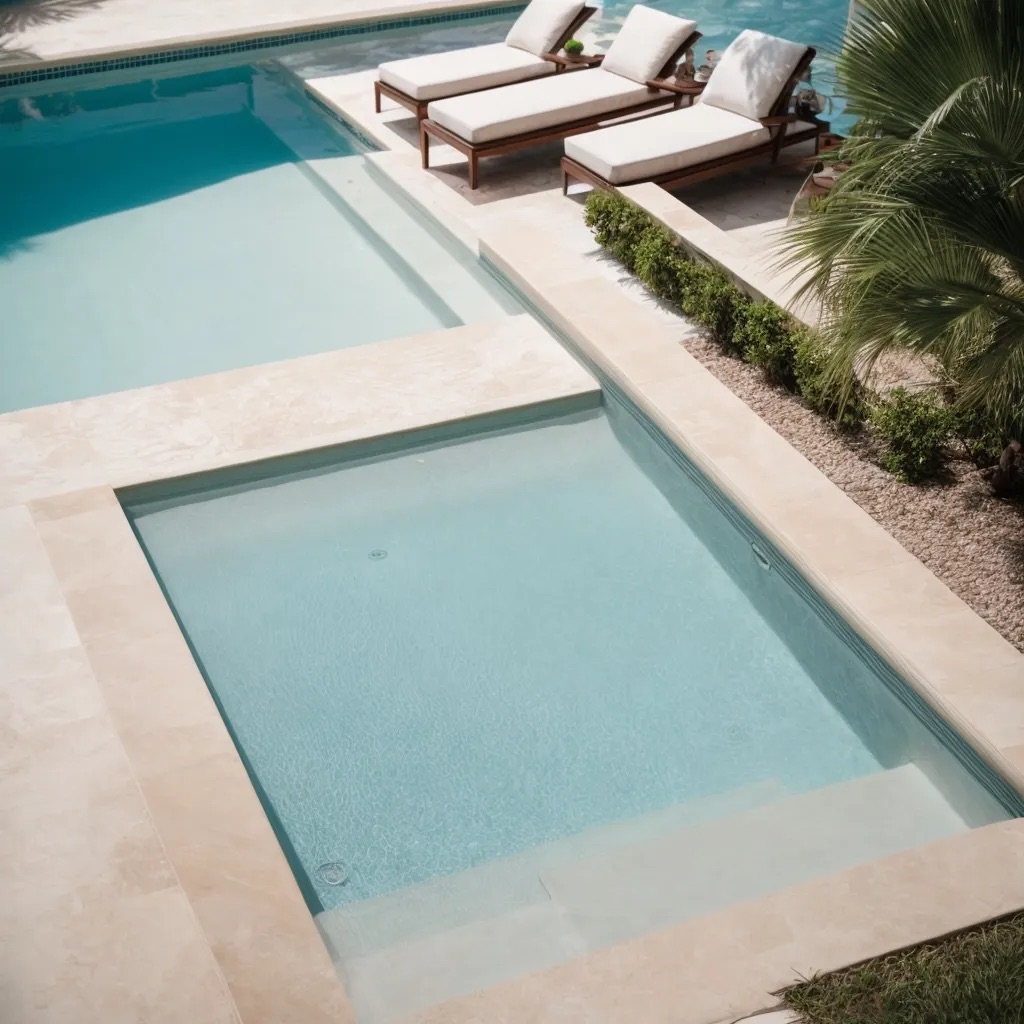
A stunning pool is a centerpiece of any backyard oasis, providing a refreshing retreat on hot summer days and an elegant focal point for outdoor gatherings. However, over time, the pool tiles can become worn, cracked, or discolored, detracting from the overall beauty of your pool.
Replacing the pool tile is an excellent solution if you want to restore your pool’s elegance. In this step-by-step guide, we will walk you through replacing pool tile, ensuring that your pool regains its former splendor. For professional assistance in pool tile replacement, Pool Tile Cleaning Las Vegas NV is here to help.
Step 1: Assess the Condition of Your Pool Tiles
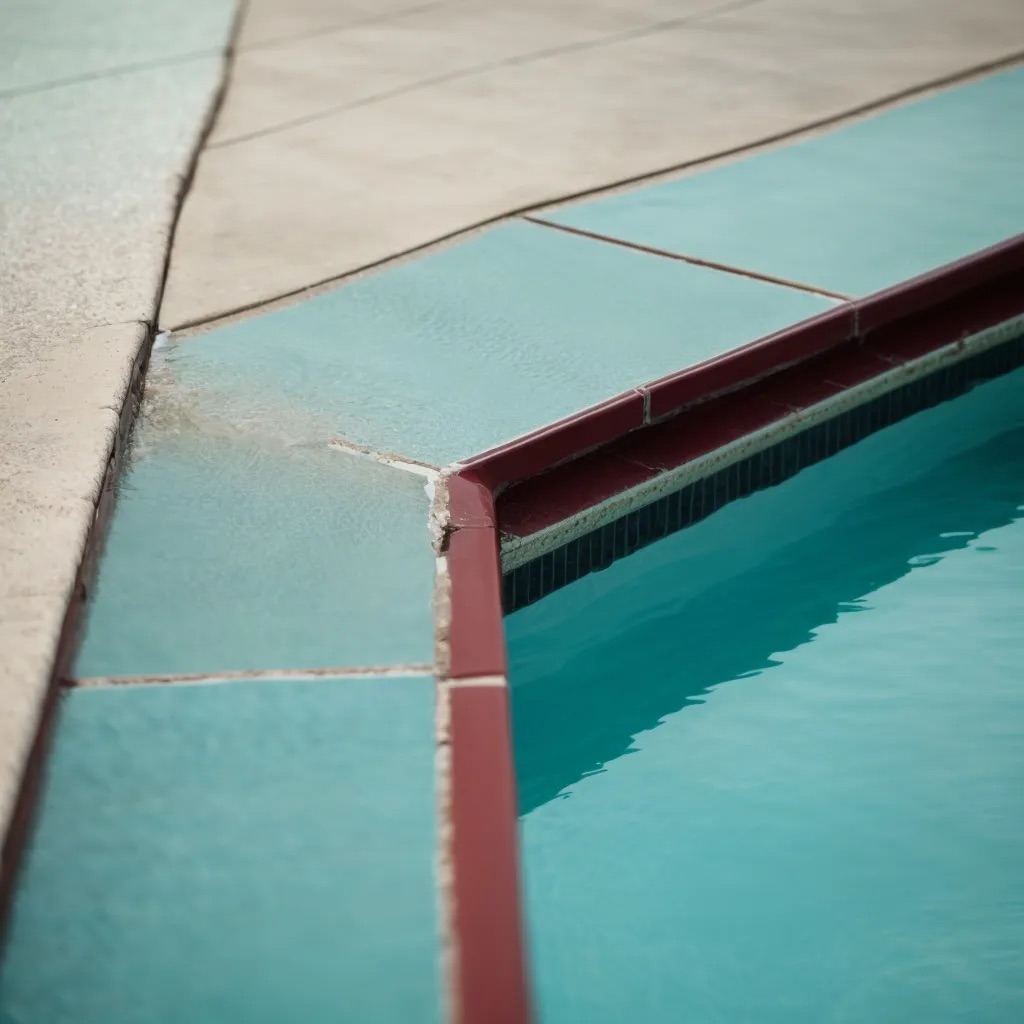
The first step in replacing pool tiles is to assess the condition of the existing tiles. Inspect the tiles closely for cracks, chips, or any signs of damage. Additionally, check for discoloration, mold, or mildew growth. Take note of the number of tiles that require replacement and make a list of the necessary materials. Assessing the condition of your pool tiles will help you determine the project’s scope and plan accordingly.
Step 2: Choose New Pool Tiles
Once you have identified the tiles that need replacement, it’s time to choose new pool tiles that will enhance the overall look of your pool. Consider the style and design of your pool area and your personal preferences. Various options are available, including ceramic, porcelain, glass, and stone tiles. Each type of tile has its own unique characteristics and benefits. Consult with a professional from Pool Tile Cleaning Las Vegas NV, to ensure you select tiles suitable for your pool’s specific requirements.
Step 3: Gather the Necessary Tools and Materials
Before beginning the tile replacement process, gather all the necessary tools and materials. Here is a list of the essential items:
- Replacement pool tiles
- Grout
- Tile adhesive
- Grout float
- Tile adhesive trowel
- Grout sponge
- Tile spacers
- Bucket
- Chisel or pry bar
- Hammer
- Safety goggles
- Gloves
Ensure you have all these items readily available before proceeding with the next steps.
Step 4: Remove the Damaged Tiles
To replace the pool tiles, you must first remove the damaged ones. Begin by wearing safety goggles and gloves to protect yourself during this process. Use a chisel, pry bar, and hammer to carefully chip away at the damaged tiles. Start at one corner and work your way across, ensuring not to damage the surrounding tiles. Once a tile is loose, remove it completely and continue until all the damaged tiles have been removed.
Step 5: Clean the Tile Bed and Apply Adhesive
After removing the damaged tiles, cleaning the tile bed is crucial. Use a wire brush or scraper to remove any remaining adhesive or grout. Ensure that the surface is clean and free of debris. Once the tile bed is clean, apply a layer of tile adhesive using a trowel. Spread the adhesive evenly, making sure to cover the entire area where the new tile will be placed. Follow the manufacturer’s instructions regarding the drying time of the adhesive.
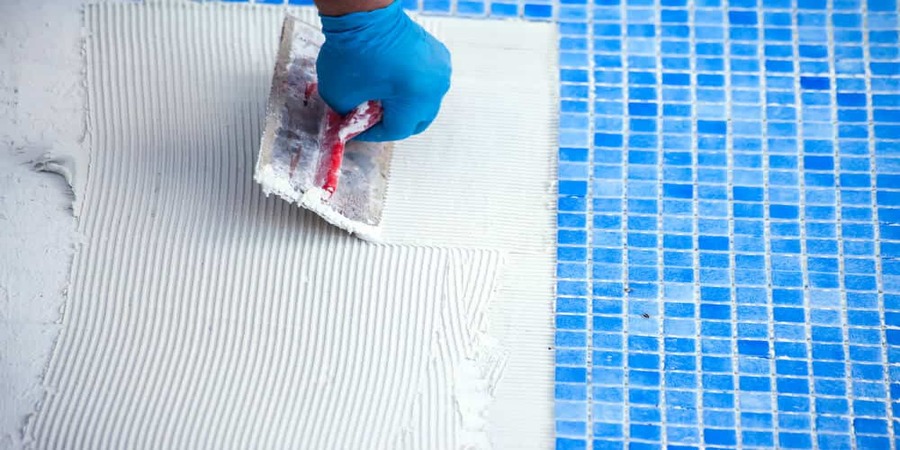
Step 6: Install the New Tiles
Now it’s time to install the new tiles. Apply a thin layer of adhesive to the back of each tile using a trowel. Place the tiles onto the adhesive, aligning them properly with the existing tiles. Use tile spacers to create even spacing between the tiles for grouting. Continue this process until all the new tiles are in place. Take your time to ensure that each tile is properly aligned and firmly in position.
Step 7: Grout the Tiles
Once the adhesive has dried and the tiles are secure, it’s time to grout the tiles. Mix the grout according to the manufacturer’s instructions using a bucket. Use a grout float to apply the grout, working it into the gaps between the tiles. Hold the float at a 45-degree angle and move it diagonally across the tiles, ensuring that the grout fills all the spaces. Remove any excess grout from the tiles using a damp grout sponge. Allow the grout to dry for the recommended time.
Step 8: Clean and Seal the Tiles
After the grout has dried, cleaning the tiles to remove any residue or haze is essential. Use a clean, damp sponge to gently wipe the tiles, being careful not to disturb the grout lines. Once the tiles are clean, let them dry completely. Consider applying a tile sealer to protect the newly replaced tiles and enhance their longevity. Consult Pool Tile Cleaning Las Vegas NV, for guidance on choosing the suitable sealer for your pool tiles.
Replacing pool tiles is a rewarding project that can breathe new life into your pool and elevate its overall appearance. By following this step-by-step guide, you can successfully replace your pool tiles and revive your pool’s elegance.
Remember, if you’re unsure or uncomfortable with any process step, it’s always best to consult with professionals like Pool Tile Cleaning Las Vegas NV. With their expertise and experience, you can ensure that your pool tile replacement project is completed to perfection, giving you a stunning pool you can enjoy for years.
Key Takeaways:
- Replacing pool tiles can revive the elegance of your pool and enhance its overall appearance.
- Assess the condition of your pool tiles to determine the project’s scope and make a list of necessary materials.
- Choose new pool tiles that complement your pool’s style and design, considering options such as ceramic, porcelain, glass, and stone tiles.
- Before starting the tile replacement process, gather the necessary tools and materials, including replacement tiles, grout, adhesive, and various tools.
- Carefully remove the damaged tiles using safety goggles and gloves, chiseling them away without damaging surrounding tiles.
- Clean the tile bed thoroughly and apply a layer of adhesive before installing the new tiles, ensuring proper alignment and spacing.
- Grout the tiles using a grout float, removing excess grout with a damp sponge and allowing it to dry.
- Clean the tiles to remove residue or haze, and consider applying a tile sealer to protect and enhance their longevity.